
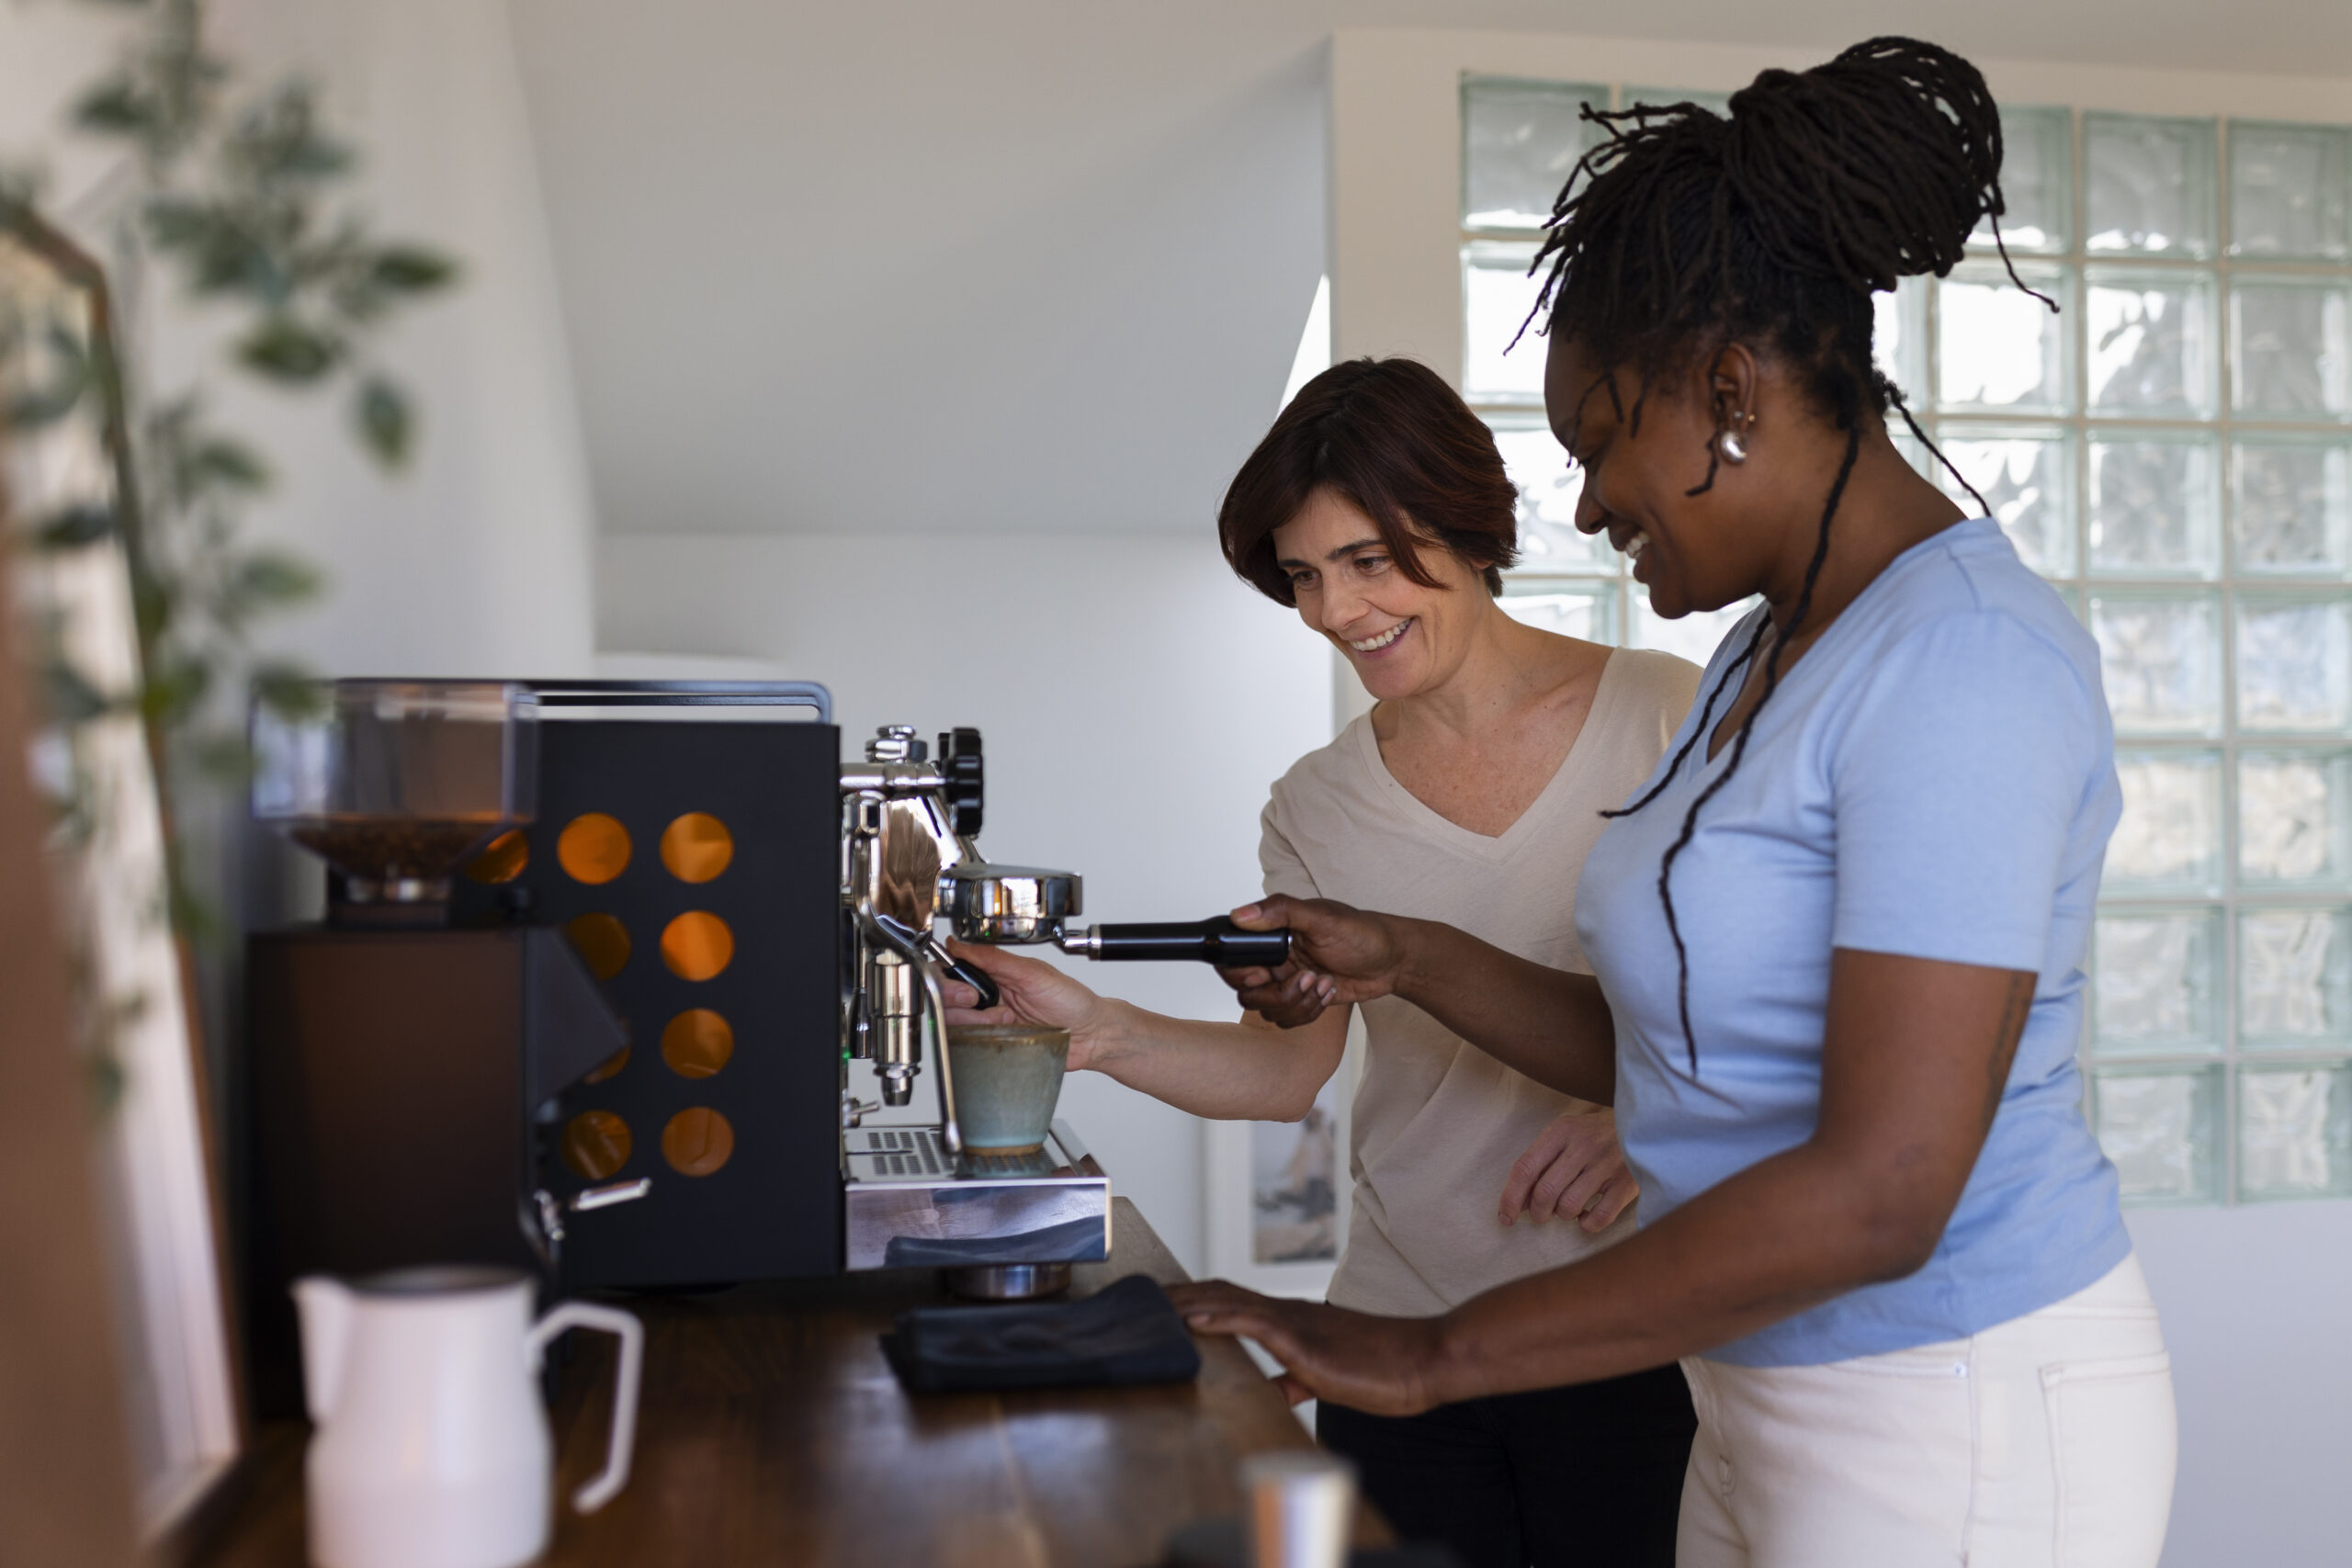

How to Make Coffee at Home With a Machine for Beginners
You have the coffee machine, a bag of coffee, and a favourite mug. Making your first cup should be straightforward. Then you notice the different buttons, the markings on the water tank, and instructions that seem to assume you already know what you are doing.
How much coffee should you add? Does the machine need a paper filter? Can you use ordinary ground coffee, or does it have to say “espresso” on the packet?
These are sensible questions. A coffee machine handles part of the brewing process, but the ingredients and measurements still affect what ends up in your cup. This guide is here for you!
To make coffee at home with a basic drip machine, add fresh drinking water to the reservoir, place the correct filter in the basket, add medium-ground coffee, and start the brewing cycle. A useful starting recipe is 15 grams of coffee for every 250 millilitres of water, provided that quantity meets your machine’s minimum brewing capacity.
Espresso machines, capsule machines, and bean-to-cup models work differently, so their instructions need a few adjustments. Once you understand which machine you have, the rest becomes much easier.
This guide walks you through the process, explains the measurements, and helps you improve the flavour without turning your kitchen into a coffee laboratory.
Coffee at Home: Identify Your Machine First
Before opening the coffee packet, take a moment to identify your machine. Putting the wrong ingredient in the wrong compartment can create a mess and, in some cases, damage the equipment.
| Machine type | How to recognise it | What you normally add | What it makes |
|---|---|---|---|
| Drip or filter machine | Filter basket above a glass or thermal jug | Ground coffee, water, and a suitable filter | A batch of regular brewed coffee |
| Semi-automatic espresso machine | Removable handled coffee basket, often with a steam wand | Finely ground coffee and water | Concentrated espresso |
| Capsule or pod machine | Compartment for a compatible sealed capsule or pod | Matching capsule or pod and water | A programmed serving of coffee |
| Bean-to-cup machine | Bean hopper and built-in grinder | Whole coffee beans and water | Automatically ground and brewed coffee |
Some machines combine several functions. A model might accept both ground coffee and capsules, but usually through separate attachments.
Find the model number and read the section of its manual covering first use. You do not need to memorise every feature. Focus on where the water goes, which coffee format it accepts, and how to run the initial rinse.
The instructions below explain the general process. Your machine’s specific limits and operating instructions take priority.
Coffee at Home: Gather the Essentials
For your first brew, keep the setup simple. You need your machine, suitable coffee, fresh drinking water, and a clean cup.
Depending on the model, you may also need:
- A correctly sized paper filter or the supplied reusable filter.
- A kitchen scale for measuring coffee.
- A measuring jug if the reservoir markings are unclear.
- A grinder if you bought whole beans.
- A tamper for a semi-automatic espresso machine.
- A milk jug if you plan to use a steam wand.
A scale is useful because coffee scoops vary in size. Even the same spoon can hold different amounts depending on how finely the coffee is ground and whether you heap it.
However, you can begin without buying every accessory. Measure consistently with what you have, then decide what would make your routine easier.
Set the machine on a stable, dry surface with enough room to open the reservoir and remove the brewing basket. Keep the cable away from hot surfaces and make sure the jug or drip tray sits properly in position.
Coffee at Home: Choose Suitable Coffee and Water
The coffee aisle can make a beginner feel as though every packet requires specialist knowledge. Start by checking two things: the coffee format and the intended brewing method.
Instant coffee and ground coffee are different products. Instant coffee dissolves in water. Ground coffee consists of small particles of roasted beans that need brewing and filtering. Do not put instant coffee in a filter basket or bean hopper unless your machine explicitly supports that use.
For a drip machine, choose coffee labelled for filter brewing or a medium grind. For a semi-automatic espresso machine, choose an espresso-suitable grind. Capsule machines require the correct capsule system, while bean-to-cup machines normally take whole beans.
A medium roast can be a comfortable starting point if you are unsure what you like. You can later explore lighter, fruitier coffees or darker, more roasted flavours.
Buy a manageable amount rather than a large bag you will take months to finish. Close the packaging securely and store it somewhere cool, dry, and away from direct sunlight.
Water also deserves attention. Start with water that is safe to drink and tastes pleasant on its own. If your tap water has a noticeable smell or flavour, suitable filtered drinking water may help. Follow the machine’s guidance on water hardness and filtration; bottled water is not automatically ideal for every model.
Coffee at Home: Understand the Coffee-to-Water Ratio
A coffee-to-water ratio describes how much dry coffee you use compared with water.
For drip brewing, a practical starting recipe is 60 grams of coffee per litre of water, equivalent to approximately one gram of coffee for every 16.7 grams of water. You can adjust it after tasting.
| Water added to a drip machine | Ground coffee at 60 grams per litre |
|---|---|
| 250 ml | 15 g |
| 500 ml | 30 g |
| 750 ml | 45 g |
| 1,000 ml | 60 g |
Use these quantities only within your machine’s stated minimum and maximum capacity. A large batch brewer may struggle to brew one small mug evenly.
Also, the amount of water you add will not equal the exact amount of coffee you collect. Some water remains in the wet grounds.
If you do not have a scale, the National Coffee Association gives a broad starting guideline of one to two tablespoons of ground coffee per six US fluid ounces of water. Its drip-brewing explanation is available at Drip Coffee
Treat spoon measurements as approximate. Use the same level spoon each time so your adjustments mean something.
One more detail catches many beginners: a coffee maker’s “cup” marking may be smaller than your drinking mug. Check the manual’s stated cup volume instead of assuming that four machine cups will fill four large mugs.
Coffee at Home: Make Your First Drip Coffee
A drip machine is a straightforward place to begin because it heats and distributes the water for you.
For a first attempt, make a batch large enough to meet the machine’s minimum capacity. If 500 millilitres is suitable for your model, start with 30 grams of medium-ground coffee.
- Prepare the machine. If it is new, remove packaging and complete the manufacturer’s first-use rinse before adding coffee.
- Measure the water. Add fresh water to the reservoir, staying below the maximum line.
- Fit the filter. Use the correct paper filter or the machine’s approved reusable filter.
- Measure the grounds. Add your chosen amount and gently level the surface.
- Position the jug. Check that its lid and the brewing basket are correctly seated.
- Start the brew. Select the appropriate batch setting if the machine has one.
- Wait for completion. Let the cycle finish rather than removing the jug early.
- Pour and taste. Allow the coffee to cool slightly before deciding whether to adjust the next batch.
Do not press the grounds down as you would for espresso. Drip brewing relies on water flowing through a loose bed of coffee.
Avoid adding an extra paper filter inside a reusable filter unless the manufacturer permits it. Extra resistance can interfere with drainage.
Once brewing finishes, gently swirl the jug before pouring if its design allows safe handling. This helps mix the coffee throughout the batch. If you are keeping it for later, a clean thermal container can help preserve a pleasant drinking temperature without prolonged exposure to a hot plate.
Coffee at Home: Use a Semi-Automatic Espresso Machine
An espresso machine produces a small, concentrated drink by pushing water through a prepared bed of finely ground coffee.
The handled attachment is called a portafilter. Inside it sits a removable filter basket that holds the grounds.
Begin by filling the reservoir and allowing the machine to reach its ready state. Follow its warming instructions, since a ready light does not mean every model warms its metal components in exactly the same way.
Choose a basket and use the manufacturer’s recommended dose. Do not assume every double basket holds the same amount.
Add the coffee, distribute it evenly, and use the tamper to press it into a level, compact bed. Wipe loose grounds from the basket rim before locking the portafilter into place.
For a suitable double basket, an example starting recipe is 18 grams of dry coffee producing about 36 grams of espresso. That is a 1:2 ratio by weight. Here, the second number means the finished drink in your cup, unlike a drip recipe that measures brewing water.
Breville explains dose, beverage yield, and adjustments in its beginner’s guide: How to dial in espresso: The beginner’s guide.
Put a cup on a small scale beneath the spouts if space allows, then start brewing. Use the recipe as a starting point and judge the result by taste.
Some beginner machines use pressurised baskets designed to be more forgiving with pre-ground coffee. Follow those basket instructions rather than copying settings intended for a different setup.
After brewing, release and remove the portafilter only as directed by the manufacturer.
Coffee at Home: Use a Capsule or Pod Machine
Capsule machines simplify preparation because the coffee is already portioned. Your main choices are capsule compatibility and serving size.
First, confirm the exact system your machine accepts. Capsules that look similar may have different shapes, materials, or brewing requirements.
Fill the reservoir with fresh water, switch on the machine, and wait until it signals that it is ready. Insert one compatible capsule, close the compartment, position your cup, and select the recommended serving.
For a new machine, perform its first-use cleaning or priming procedure before brewing. The button sequence varies between models, so follow the manual.
A larger drink setting does not necessarily produce a better large coffee. Passing much more water through a capsule intended for a short serving can change the flavour in an unpleasant way.
If you want a longer drink, try brewing the intended serving and adding hot water separately. Alternatively, choose a capsule designed for a larger cup.
Dispose of used capsules according to the machine’s instructions and local recycling options. Keep the used-capsule container and drip tray clean rather than waiting until they overflow.
Coffee at Home: Use a Bean to Cup Machine
A bean-to-cup machine grinds the beans and prepares the coffee automatically. This reduces the number of manual steps, but the starting settings still matter.
Add suitable whole beans to the hopper and fresh water to the reservoir. Keep water out of the bean compartment. If the machine has a separate ground-coffee chute, use it only according to the manual.
Begin with a standard coffee setting and a moderate strength level. Make one drink before changing several options.
These machines may let you adjust:
- Coffee strength or dose.
- Drink volume.
- Grinder setting.
- Brewing temperature.
- Milk quantity, if a milk system is fitted.
The meaning of “strength” varies by model. It may change the amount of coffee used rather than simply changing brewing time.
If the drink is too thin, check the selected volume and strength before making large grinder adjustments. Some machines require grinder changes while the grinder is operating; others have different procedures. Follow the instructions closely.
Keep a brief note of settings you enjoy. It is much easier to return to a favourite recipe when you have recorded it.
Coffee at Home: Add Milk Without Hiding the Flavour
Milk can make a cup feel smoother and sweeter, but start with a small amount. A large splash of cold milk may leave a modest serving lukewarm.
For filter coffee, you can add a little warmed milk directly. For an espresso-based drink, combine the espresso with warmed or textured milk.
You do not need latte art to enjoy a latte. Aim first for pleasant flavour and a texture you like.
If your machine has a steam wand, use an appropriate jug with room for the milk to expand. Follow the model’s steaming instructions, keeping hands clear of hot metal and escaping steam.
Clean the wand immediately after use, including the prescribed purge or rinse. Milk residue is harder to remove once it dries. For an automatic milk system, run its cleaning function and wash the detachable parts as instructed.
With plant-based milk, different products behave differently when heated. A barista-labelled version may be easier to texture, but flavour remains a personal choice.
Add sugar or syrup gradually. Taste between additions so you can still tell whether the coffee itself needs improvement.
Coffee at Home: Fix Weak, Bitter, or Sour Coffee
A disappointing cup does not automatically mean you need a different machine. Often, one small adjustment makes a noticeable difference.
Start by describing the problem. “I do not like it” is understandable, but “it tastes watery” gives you something to work with.
| What you notice | Possible explanation | First adjustment to try |
|---|---|---|
| Watery or weak flavour | Too little coffee for the selected water quantity | Measure the recipe and increase coffee slightly if needed |
| Harsh bitterness | Roast preference, excessive extraction, or dirty equipment | Clean the machine and review the recipe |
| Sharp sourness with a thin taste | Insufficient extraction or unsuitable brewing settings | Check grind and brewing guidance |
| Stale or flat flavour | Old coffee or poor storage | Try a fresh, smaller packet |
| Grounds in the cup | Incorrect filter fit, overflow, or damaged filter | Check filter placement and condition |
These are clues rather than guaranteed diagnoses. Coffee can have natural acidity, and darker roasts can taste strongly bitter even when brewed correctly.
Also, strength and bitterness are different. Strength describes concentration; bitterness describes a flavour. A concentrated cup is not necessarily badly brewed.
Change one thing at a time. If you alter the coffee amount, grind, water quantity, and temperature together, you will struggle to identify what helped.
For example, if your drip coffee tastes weak, keep the water at 500 millilitres and increase the coffee from 30 to 32 grams. Taste before changing anything else.
If espresso flow seems wrong, consult the machine’s grinding and basket instructions. Avoid repeatedly making the grind finer without checking the dose and basket capacity.
Coffee at Home: Clean and Descale Your Machine
Cleaning is part of brewing because residue from yesterday’s coffee can affect today’s cup.
After use, remove spent grounds or capsules when it is safe to do so. Wash the removable parts according to the manual and let them dry. Empty the drip tray and keep the reservoir clean.
For a drip machine, pay attention to the jug lid and filter basket. For an espresso machine, include the basket and portafilter. Milk systems need their own cleaning routine.
Cleaning and descaling serve different purposes. Cleaning removes coffee residue and oils. Descaling removes mineral deposits from water.
A machine may need both, and one product does not necessarily do both jobs. Follow the manufacturer’s recommended products, amounts, and rinse cycles.
There is no universal descaling schedule suitable for every household. Water hardness, frequency of use, and machine design all affect the interval. Use the machine’s maintenance instructions and alerts.
Do not assume vinegar is approved simply because it appears in a household cleaning tip. Some manufacturers specify a particular descaler.
Never immerse the powered machine body in water. Allow hot components to cool before handling them, and unplug the appliance when its cleaning instructions require it.
Coffee at Home: Avoid These Beginner Mistakes
Most early mistakes come from trying to move too quickly or treating all coffee machines alike.
A few habits will prevent unnecessary frustration:
- Measure before adjusting. Random scoops make it difficult to reproduce a good cup.
- Check the compartment. Water, beans, grounds, and capsules have specific places.
- Respect capacity limits. Too much coffee or too little brewing water can cause problems.
- Use suitable ingredients. Not every grind works with every brewing method.
- Wait for the machine. Heating, brewing, and cleaning cycles need time to finish.
- Taste before adding extras. Milk and sweeteners can make problems harder to identify.
Another common mistake is assuming the most expensive beans must suit your taste. A coffee can be well made and still have flavours you do not enjoy.
Keep your first few purchases modest. Explore one packet at a time and notice whether you prefer a lighter drink, a richer texture, or a stronger roasted flavour.
Your preferences are useful information. You do not need to force yourself to enjoy a particular style because someone describes it as the correct choice.
Coffee at Home: Build a Routine You Can Repeat
The easiest way to improve is to make your next cup a small variation on the previous one.
Write down four details: the coffee used, the amount of coffee, the water quantity or drink yield, and your impression of the flavour. Espresso users can also record the grinder setting.
A note can be as simple as:
“Medium roast, 30 grams, 500 millilitres, slightly weak. Try 32 grams tomorrow.”
That gives you a clear next step without requiring a complicated brewing journal.
Once you find a recipe you enjoy, repeat it several times. You will learn how the machine behaves and become quicker at preparation and cleanup.
You can then experiment with a different coffee, a new drink size, or warmed milk. Changing one part of a familiar routine makes learning more manageable.
Coffee at Home: Enjoy the First Cup and Improve the Next
Learning how to make coffee at home with a machine begins with a few dependable habits: identify the machine, use the correct coffee format, measure consistently, and keep the equipment clean.
For a drip brewer, 60 grams of coffee per litre of water is a useful starting recipe within the machine’s capacity limits. Espresso, capsule, and bean-to-cup machines need their own approach, so follow the method that matches your equipment.
Your first cup does not have to taste like a café purchase. It only needs to give you a starting point.
Brew, taste, and make one thoughtful adjustment. Before long, the buttons and measurements that once seemed confusing will become part of an easy morning routine—and you will know how to make a cup you look forward to drinking.
Frequently Asked Questions;
1. Can I put milk in the water tank to make milky coffee?
No. A standard water reservoir is designed for water. Milk can burn onto internal components, leave residue, and damage the machine. Add milk to your cup or use the separate milk container if your machine has one.
2. Can I make iced coffee with a regular coffee machine?
Yes. Brew the coffee normally, then pour it over ice in a heat-safe glass. Ice dilutes the drink, so use a slightly stronger recipe or coffee ice cubes. Do not put ice in the machine’s reservoir unless the manufacturer specifically allows it.
3. Can I reuse coffee grounds or brew the same capsule twice?
You may get another liquid serving, but it will usually taste weak and unpleasant because the first brew removes much of the desirable flavour. Use fresh grounds or a new capsule for a proper second serving.
4. What should I do if my coffee machine makes noise but no coffee comes out?
Check that the water tank contains water and is seated correctly. Then check for an incorrectly fitted basket, blocked outlet, or error message. A new machine may need its prescribed priming cycle. Stop repeated attempts if no water flows, and follow the troubleshooting instructions for your model.
5. What happens if the electricity goes off halfway through brewing?
The response depends on the machine: some stop completely, while others may resume when power returns. Check its status before pressing any buttons. If you restart with fresh ingredients, first let the machine cool or release pressure as instructed; never force open a hot, pressurised brewing compartment.
6. Can I prepare my coffee machine the night before?
Yes, if it has a programmable brewing function and its instructions permit this. Add the measured water and grounds, position the jug, and set the timer. Preparing ahead saves time, although grinding immediately before brewing generally preserves more aroma. Leave milk refrigerated until needed.
7. Can I use decaffeinated coffee in the same machine?
Yes. Choose decaf in the format your machine accepts: grounds, beans, or compatible capsules. However, switching beans in a built-in grinder may leave some regular coffee inside. If avoiding caffeine is important, remember that decaf also contains a small amount.
8. Can I make coffee without a paper filter if I have run out?
Only if the machine has an approved reusable filter or another manufacturer-supported option. Do not place loose grounds in an empty filter basket. Avoid improvised substitutes such as tissues or paper towels, which may tear, restrict drainage, or overflow.
9. Can an espresso machine make two drinks at the same time?
Some models can split a double espresso between two cups using a two-spout portafilter. However, each cup receives part of the total shot. If you want a full double espresso in each drink, brew two separate double shots or use the machine’s supported two-drink setting.
10. What should I check before using a second-hand coffee machine?
Check the power cable, plug, water tank, seals, and removable parts for damage. Confirm that its voltage matches your electricity supply, find the correct manual, and complete the recommended cleaning and rinsing procedures. If it leaks near electrical components, smells burnt, or trips the power, stop using it and arrange inspection.